Setting Up a Modern Android Development Environment
Learn how to establish a robust and reproducible Android development environment, covering IDE installation, SDK management, and device testing trade-offs.
Table of Contents5 sections
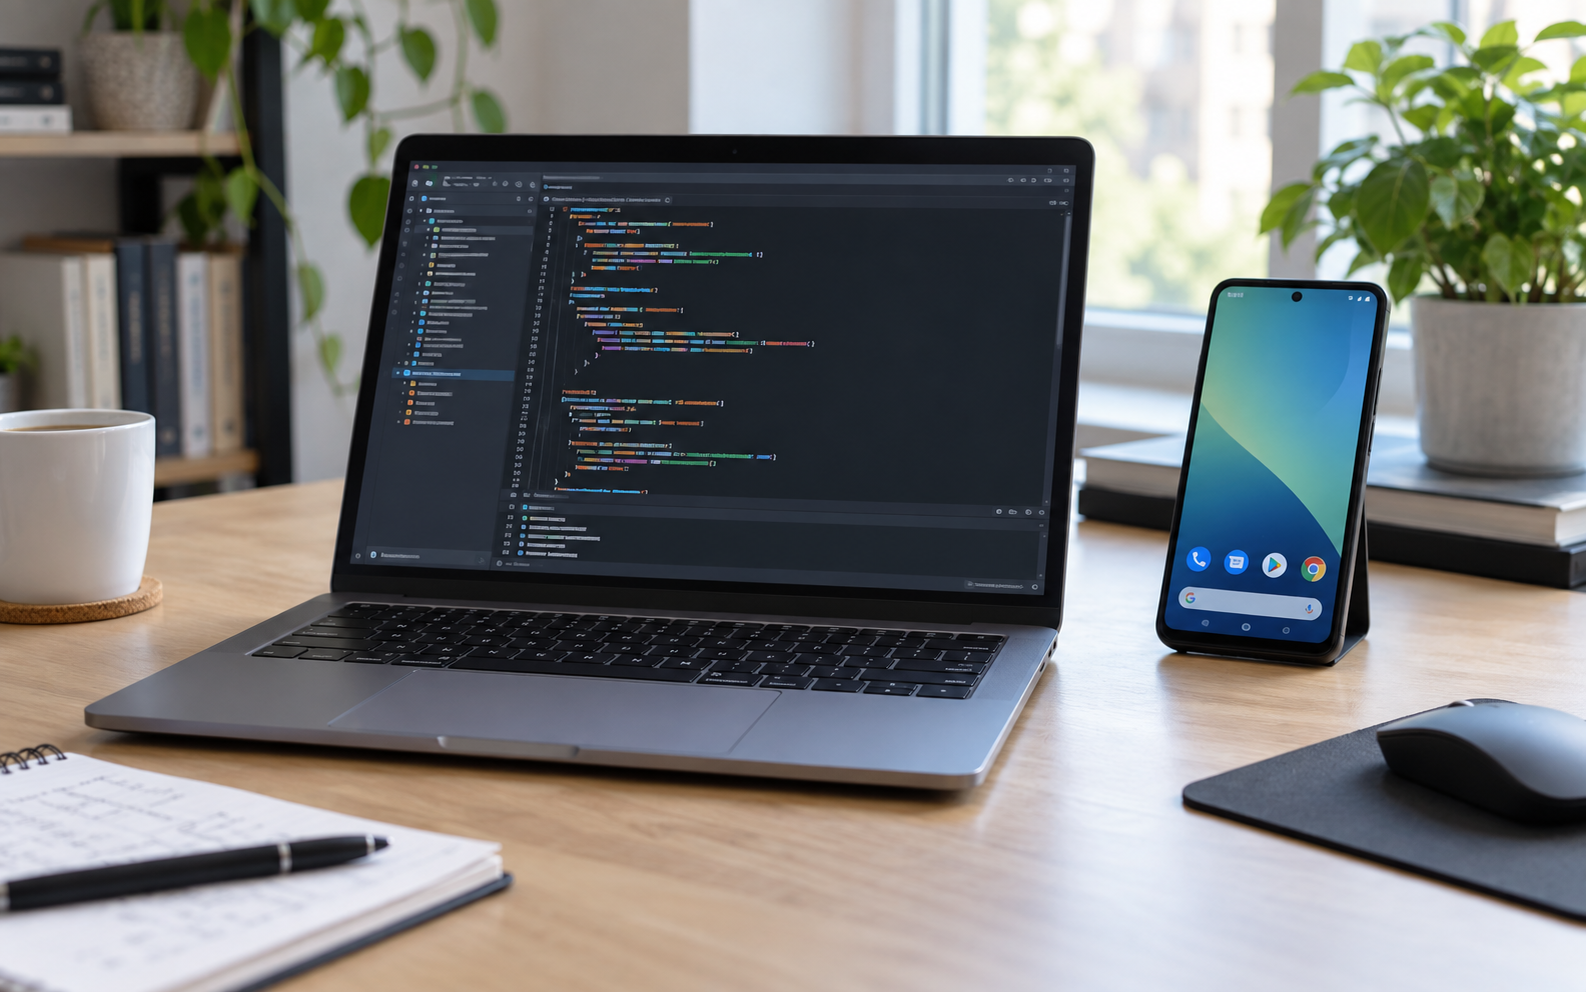
A practical Android development workspace where the IDE, device, and build loop meet.
How do you configure a stable and reliable development environment for modern Android applications without running into missing SDK components or broken virtual devices? When you download an integrated development environment, the installation wizard is only the starting point. The real challenge lies in ensuring that the software development kit, platform tools, compiler versions, and target devices all agree with one another. If these pieces are misaligned, your builds will fail before you write a single line of application code.
The primary question for any developer setting up a fresh machine is how to move from a blank operating system to a fully functioning build and test pipeline with minimal friction. This guide answers that question by breaking down the setup process into distinct phases. You will learn how to choose the correct IDE build, verify system requirements, install the required SDK packages deliberately, create a virtual testing device, and understand when physical hardware becomes necessary for verification.
Choosing and Installing the Right IDE Build
The foundation of your workspace is the integrated development environment. Before downloading anything, verify that your machine meets the minimum hardware requirements for modern tooling. Processor architecture matters significantly because x86_64, ARM64, and Apple Silicon require distinct installer packages and virtualization extensions. For instance, Windows users need to ensure that hardware virtualization such as Intel VT-x or AMD-V is enabled in the BIOS, while Linux users often need specific graphics libraries and kernel modules for hardware acceleration.
Download the official stable release from the primary developer portal rather than relying on third-party archives or mirrors. During the initial setup wizard, choose the standard installation type unless you have specific custom requirements. The standard option includes the recommended components that most developers need daily. Pay close attention to the directory paths during installation. Avoid spaces or special characters in your file paths, as build tools occasionally fail when encountering spaces in directory names.
Configuring the SDK and Build Tools
Once the application is running, the next critical step is obtaining the software development kit and associated build tools. The SDK includes platform libraries, debugging utilities, and compilers that translate your source code into executable packages. Beginners often make the mistake of installing every available SDK version, which wastes disk space and clutters the update manager. Instead, install the latest stable platform version along with the previous major version to test backward compatibility.
Open the SDK Manager within the settings menu to manage your packages. You will typically need the Android SDK Platform, sources for the platform, and the corresponding system image for your virtual device. Under the SDK Tools tab, ensure that essential utilities are present. These utilities include the Android SDK Build-Tools, Android Emulator, and Platform-Tools. To verify your command line tool Configuring Automated Repository Access and environment paths, you can run a quick check in your terminal. For example, executing a simple version query confirms that your system path recognizes the platform tools.
adb --version
If the terminal returns the expected version number, your environment variables are configured correctly. If it returns an error stating that the command is not found, you must add the platform-tools directory to your system path environment variables.
Creating and Managing an Android Virtual Device
Testing your application efficiently requires an emulator that mimics a real physical device. The Device Manager allows you to create virtual hardware profiles with different screen sizes, resolutions, and system image configurations. When selecting a system image, choose one that matches the API level you are targeting. For general development, images without Google Play services are lighter and faster to boot, but if your application relies on location services, push notifications, or maps, you must select an image that includes the Google APIs.
Performance is a common bottleneck when running virtual devices. Ensure that your emulator utilizes hardware acceleration by installing the hypervisor driver specific to your operating system. When you launch the virtual device for the first time, allow it to boot completely before attempting to run your application. A common failure mode occurs when developers try to deploy an app while the emulator is still initializing its operating system services, leading to timeout errors and build failures.
Balancing Emulators and Physical Devices
While the emulator is an indispensable tool for rapid iteration, it does not completely replace physical hardware. Emulators are excellent for testing responsive layouts across multiple screen sizes, varying API versions, and different input methods. They provide a controlled environment where you can simulate low battery conditions, incoming phone calls, and network throttling.
However, emulators struggle to replicate real-world performance characteristics. Sensors such as cameras, fingerprint scanners, Bluetooth peripherals, and NFC chips behave differently on actual hardware. Furthermore, thermal throttling and genuine CPU performance can only be accurately measured on a physical phone or tablet. A balanced workflow involves using the emulator for ninety percent of your daily feature development and UI testing, reserving physical device testing for final validation phases, performance profiling, and sensor integration checks.
Maintaining a Reproducible Environment
Modern development environments should be reproducible rather than dependent on the quirks of a single local machine. As your team grows or you upgrade your hardware, you should be able to spin up a new workstation and resume work immediately. Document your exact tool versions, gradle plugin versions, and dependency management strategies within your project configuration files rather than relying on global IDE settings.
A practical takeaway from this setup process is that a disciplined approach to installation prevents hours of debugging later. By treating your development environment as code and keeping your SDK components lean, you ensure that your builds remain fast, predictable, and easy to maintain across any operating system.
Continue Exploring
You Might Also Like
Why Android Push Notifications Duplicate and How to Fix Them
A practical debugging workflow for duplicate Android notifications, covering FCM payload ownership, stable notification IDs, PendingIntent identity, and idempotent handling.
WorkManager vs AlarmManager: How to Choose for Android Background Work
A practical decision guide for choosing WorkManager or AlarmManager based on timing precision, persistence, constraints, retries, and user-visible intent.
Debugging R8 Release-Only Crashes Without Disabling Optimization
A systematic way to diagnose Android crashes that appear only after R8 optimization, from retracing stack traces to writing the narrowest keep rule that fixes the real boundary.