Android USB Debugging Device Not Detected: A Layer-by-Layer Fix
Fix an Android device that does not appear in Android Studio or ADB by isolating USB transport, device authorization, ADB state, and host driver problems.
Table of Contents12 sections
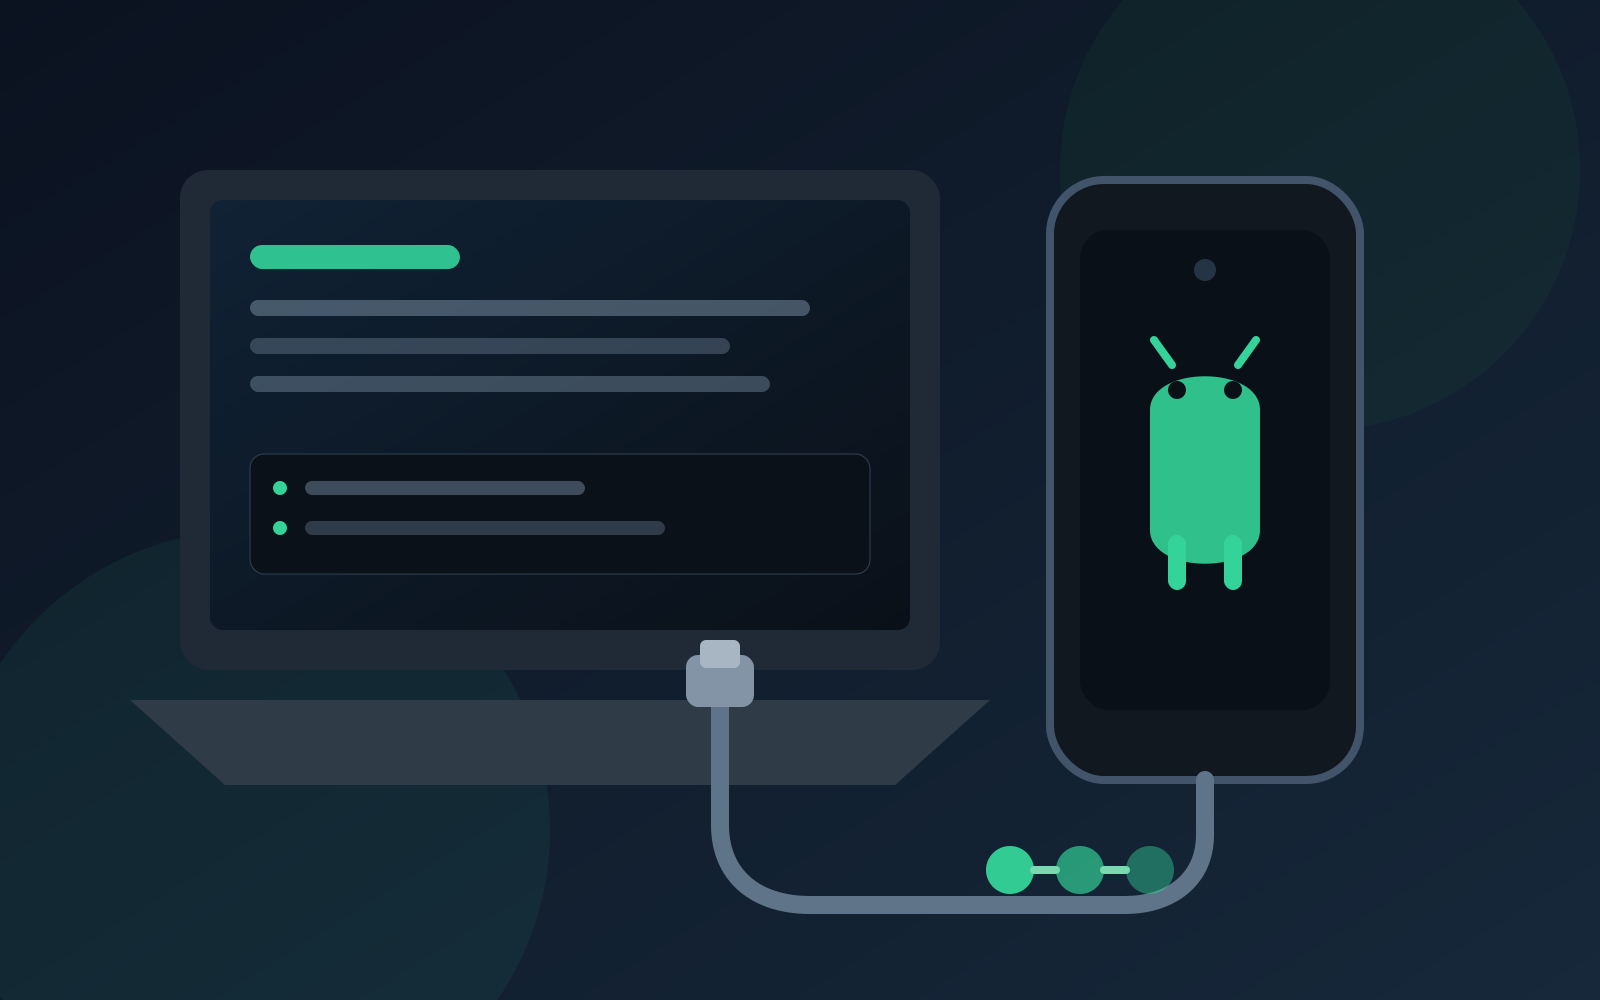
When an Android phone does not appear in Android Studio, random resets waste time because several independent layers can fail. The reliable approach is to start at the physical USB path, inspect ADB state, then reset only the layer that is broken.
That gives you a short diagnostic sequence:
USB detection
    -> USB debugging enabled
    -> adb devices -l
    -> authorization state
    -> adb server
    -> host driver or device-specific setup
The important part is the order. If the computer cannot see the USB device at all, restarting Gradle or reinstalling the app cannot help. If ADB sees the phone as unauthorized, replacing a working cable is unlikely to fix the trust handshake.
Start with adb devices -l
Android’s ADB documentation recommends querying connected devices before issuing device commands:
adb devices -l
Treat the result as a routing signal.
| Output | What it tells you | Next move |
|---|---|---|
| No device listed | ADB has no usable transport | Check cable, port, USB mode, driver, then rescan |
unauthorized |
USB transport works, but host trust is not approved | Unlock the phone and handle the debugging authorization prompt |
offline |
ADB knows the transport, but the device is not responding | Restart ADB, reconnect USB, then recheck device state |
device |
ADB transport is active | Debug the app, install step, target selection, or higher layer |
Google defines offline as a device that is not connected to ADB or is not responding, while device means it is connected to the ADB server. A device state does not guarantee Android has fully finished booting, so avoid treating it as proof that every higher-level operation is ready.
If nothing is listed, debug the physical path first
The official hardware-device guide starts USB troubleshooting with the cable and device setup for a good reason: ADB cannot repair a transport the operating system never receives.
Work through the cheapest checks first:
- Unlock the phone.
- Confirm Developer options are enabled.
- Confirm USB debugging is enabled.
- Disconnect and reconnect the cable.
- Try another USB port.
- Try a known data-capable cable.
- Rescan devices in Android Studio’s Connection Assistant.
A charging cable can supply power without providing a usable data connection. A phone charging successfully is therefore not enough evidence that the USB data path works.
Android Studio also provides Tools > Troubleshoot Device Connections, which can rescan USB devices, guide USB debugging setup, and restart the ADB server. It is useful when you want the same diagnostic sequence without switching constantly between the IDE and terminal.
Verify USB debugging on the device
Android Studio and SDK tools require debugging to be enabled before they can communicate with the device. Google’s Developer options guide documents USB debugging under Developer options, although exact settings labels can vary by Android version and manufacturer.
Do not confuse three separate facts:
- Developer options are enabled.
- USB debugging is enabled.
- This workstation is authorized for debugging.
The first two allow the debugging channel to exist. Authorization decides whether this particular host can use it.
That distinction explains why a phone can be visible to the computer and still not be ready for adb shell, app installation, or Android Studio deployment.
If ADB says unauthorized, fix trust rather than transport
An unauthorized device is useful evidence. It means the phone has made it far enough through the connection path for ADB to identify it, but the debugging trust relationship is incomplete.
Keep the phone unlocked and look for the RSA debugging authorization dialog. Approve the workstation only if it is a machine you trust.
Then rerun:
adb devices -l
If the prompt never appears, reconnect the cable and toggle USB debugging off and on. As a stronger reset, Android’s device settings provide an option to revoke USB debugging authorizations. Use that intentionally because it removes remembered debugging trust and forces hosts to authorize again.
The troubleshooting principle is simple: do not revoke trust when the failure is clearly below the trust layer. A missing USB device and an unauthorized ADB device are different problems.
If ADB says offline, reset ephemeral state first
An offline entry means ADB knows about the device but cannot currently communicate with it normally.
Start with the host-side server:
adb kill-server
adb start-server
adb devices -l
Google’s Connection Assistant includes the same ADB server restart as a troubleshooting step when a device does not appear correctly.
If the device remains offline:
- reconnect the USB cable;
- unlock the device;
- toggle USB debugging;
- reboot the device only after cheaper resets fail;
- update Platform-Tools if the local ADB installation is old or inconsistent.
This ordering preserves evidence. A full reboot can make the symptom disappear without telling you whether the fault was the ADB server, USB transport, device state, or authorization.
Separate Android Studio from ADB
A common debugging mistake is treating the IDE and ADB as one system.
They are related, but the boundary is useful. If this works:
adb -d shell getprop ro.product.model
then the host can already communicate with the attached hardware device through ADB. If Android Studio still does not offer the device as a deployment target, focus on IDE state, project configuration, or target selection rather than repeatedly changing USB settings.
Conversely, if adb devices -l is empty, an IDE restart alone is unlikely to solve a cable, USB, or driver problem.
This is a reusable engineering pattern: test the lower-level contract directly before debugging the tool layered on top of it.
Windows needs one extra branch: the USB driver
On Windows, the USB path can fail because the appropriate ADB USB driver is missing or incorrect. Google’s hardware-device documentation points Windows users to OEM USB drivers where required.
That creates a useful platform split:
Phone absent from adb
    |
    +-- macOS/Linux: cable, port, permissions, device setup
    |
    +-- Windows: cable, port, device setup, USB driver
Do not install random driver packages from download sites. Prefer the device manufacturer’s support path or the driver guidance linked from Android’s official documentation.
If a second Android device works with the same workstation and cable, the first phone or its device-specific setup becomes the stronger suspect. If neither device works, the host, cable, or USB path deserves more attention.
Multiple devices can look like a connection failure
Sometimes the phone is connected correctly, but a command fails because an emulator is also running.
List targets:
adb devices -l
Then select the physical device explicitly:
adb -d shell getprop ro.product.model
Or target a known serial:
adb -s <serial> shell getprop ro.product.model
ADB documents -d for the single attached hardware device and -s for an explicit serial. This removes ambiguity from scripts and makes device-lab automation more predictable.
Build a preflight check for repeated workflows
If a test, benchmark, or deployment script depends on a physical phone, fail before the expensive work begins.
A minimal preflight can be:
set -e

state="$(adb -d get-state 2>/dev/null || true)"

if [ "$state" != "device" ]; then
  echo "Physical Android device is not ready. Run: adb devices -l"
  exit 1
fi

adb -d shell getprop ro.product.model
This does not diagnose every USB problem automatically. It does something more valuable for automation: it turns an implicit environment assumption into an explicit gate.
The same idea applies to CI device farms, benchmark rigs, and local release scripts. Verify infrastructure readiness before running the operation whose result you care about.
USB and wireless debugging need different fault trees
USB debugging and wireless debugging share ADB, but their transport failures are different.
For USB, the dominant early questions are cable, port, device settings, authorization, driver, and ADB server state.
For Wi-Fi, pairing, network reachability, mDNS discovery, and connection ports become important. If your device connects over USB but repeatedly disappears over Wi-Fi, use the dedicated Android wireless debugging troubleshooting guide instead of applying USB fixes to a network problem.
Keeping those fault trees separate prevents one of the most common troubleshooting traps: resetting the wrong layer because two different transports happen to share the same adb command.
A practical recovery order
When a physical Android device is not detected for USB debugging, use this sequence:
- Run
adb devices -l. - If nothing appears, check the data cable, USB port, phone unlock state, Developer options, and USB debugging.
- On Windows, verify the correct USB driver.
- If
unauthorized, approve the debugging host or deliberately reset authorizations. - If
offline, restart the ADB server before rebooting everything. - If the state is
device, test a direct ADB command and move troubleshooting up to Android Studio or the app. - If multiple targets exist, select the physical device explicitly with
-dor-s.
The durable lesson is not a magic command. It is fault isolation.
A physical Android debugging path is a chain of contracts: hardware transport, device configuration, host authorization, ADB session, then IDE behavior. Check them in that order and most “Android Studio cannot see my phone” incidents become much faster to explain and fix.
Continue Exploring
You Might Also Like
Android ABI Filters: How to Choose Architectures Without Breaking Devices
A practical guide to Android ABI filters, native library packaging, 32-bit and 64-bit support, and testing architecture choices across real devices.
Android Code Coverage in CI Without Chasing a Meaningless Percentage
Build useful Android coverage gates with JaCoCo, variant-aware reports, CI artifacts, and thresholds that protect behavior instead of rewarding test-count theater.
How to Check Android Connectivity Without Lying to Your UI
Use ConnectivityManager and NetworkCapabilities as signals, not promises, and design Android networking around validated state, retries, and real request outcomes.