Automating Android CI Workflows with GitHub Actions and Gradle
A practical technical guide for setting up a reproducible Android CI workflow using GitHub Actions and Gradle, focusing on caching strategies, test execution boundaries, and failure diagnosis.
Table of Contents5 sections

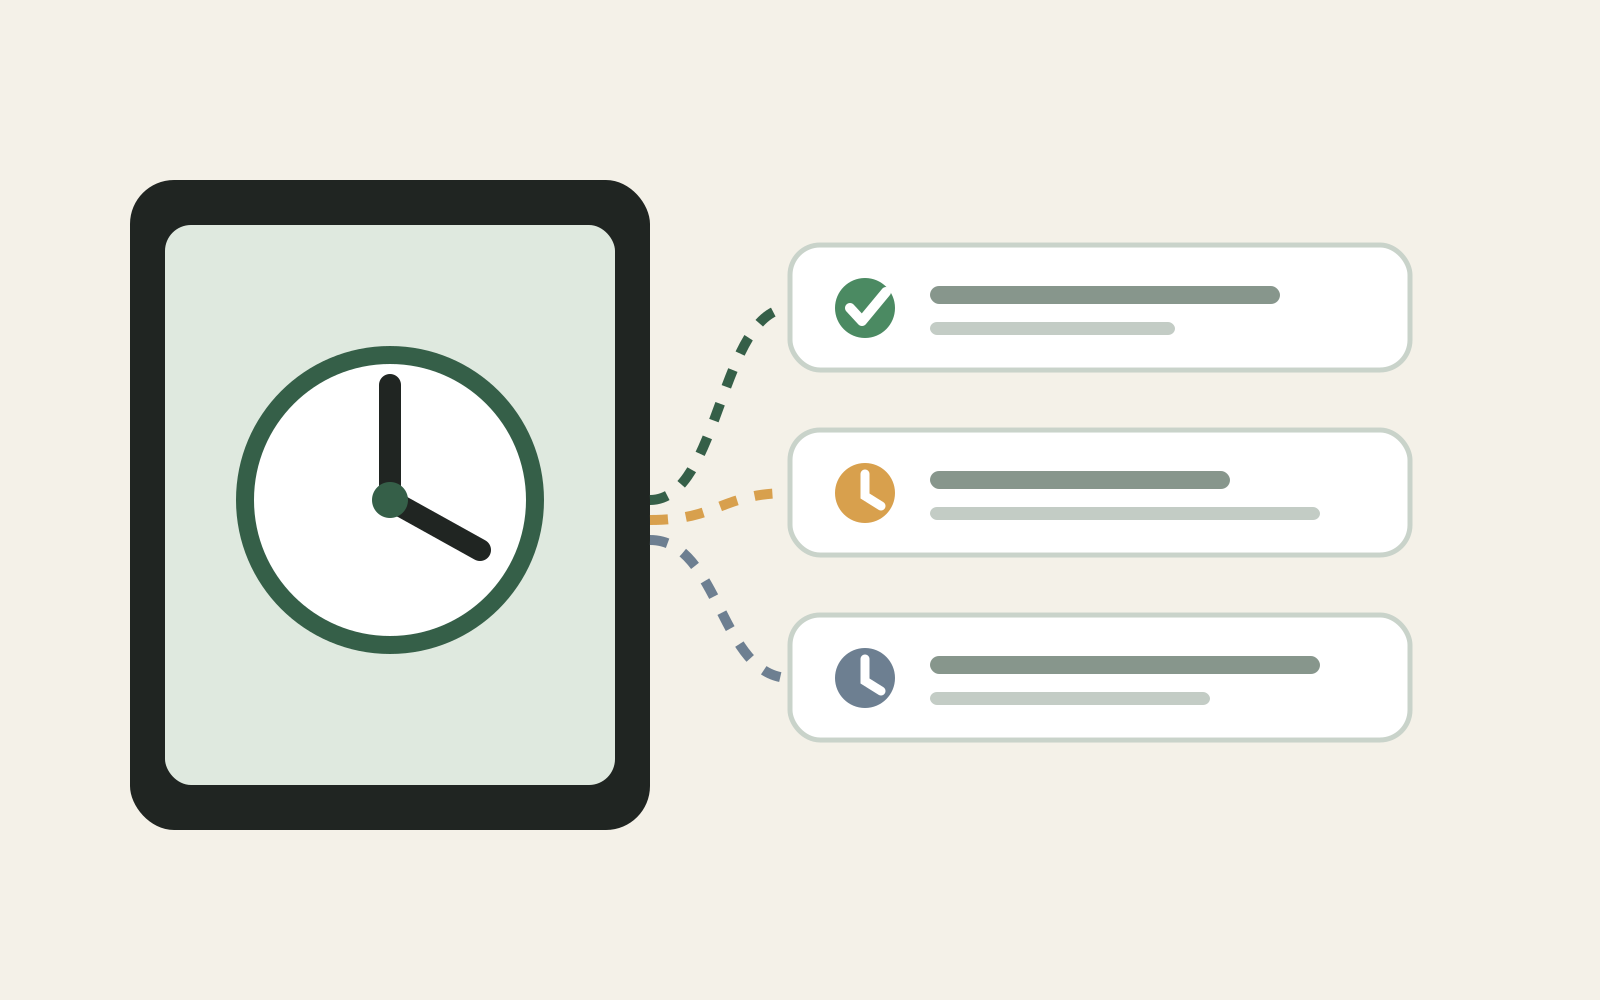
A staged build workflow makes Android feedback visible before release.
How do you build a reliable continuous integration pipeline for an Android application without letting build times balloon or letting flaky tests block your team? When moving from local development to automated verification, engineers often face slow build cycles, confusing environment setups, and obscure test Diagnosing Kapt Execution Failures In Kotlin. Official documentation provides individual pieces for GitHub Actions and Gradle, but putting them together requires explicit decisions about SDK versions, dependency caching, and test boundaries. This guide explains how to construct a streamlined Android CI workflow that runs unit tests quickly, keeps your build cache warm, and surfaces failure signals before code reaches your main branch.
Establishing the CI Architecture and Environment
Before writing any YAML configuration, you need to decide what belongs in a continuous integration environment and what should remain on local developer machines. Your CI runner is a stateless, ephemeral virtual machine. It starts from a clean operating system image on every push, meaning it lacks your local SDK licenses, local build caches, and pre-installed toolchains. Trying to replicate a heavy developer workstation inside a workflow file leads to bloated runtimes and unpredictable failures.
The core architectural goal is repeatability. Every run should check out the source code, provision a predictable operating system, install the correct Java Development Kit, configure the Android SDK components required by your project variant, and restore cached Gradle dependencies. By separating machine configuration from project source code, you ensure that any developer can reproduce a CI failure locally using identical Gradle commands. This separation also protects your repository credentials, keeping signing keys and API tokens entirely outside version-controlled workflow artifacts.
Configuring the GitHub Actions Workflow File
A practical Android CI workflow begins with a clear trigger definition and a well-structured job sequence. You should target pull requests and pushes to your primary branches to catch regressions early. The runner environment should use a stable Linux distribution, such as Ubuntu latest, which provides native support for containerized steps and fast hardware virtualization for test execution.
The following configuration demonstrates a complete, reproducible workflow that checks out your repository, sets up Java and the Android SDK, delegates Gradle setup to official actions, and executes your test suite.
name: Android CI

on:
  push:
    branches: [ main ]
  pull_request:
    branches: [ main ]

jobs:
  build:
    runs-on: ubuntu-latest

    steps:
      - name: Checkout Repository
        uses: actions/checkout@v4

      - name: Set up JDK 17
        uses: actions/setup-java@v4
        with:
          distribution: 'temurin'
          java-version: '17'

      - name: Setup Gradle Cache
        uses: gradle/actions/setup-gradle@v3

      - name: Grant Execute Permission for Gradle Wrapper
        run: chmod +x gradlew

      - name: Run Unit Tests
        run: ./gradlew testDebugUnitTest
This pipeline relies on standard primitives. The actions checkout step retrieves your code, setup java configures the required runtime, and the setup gradle action automatically handles dependency caching and build scans. Granting execute permission to the Gradle wrapper avoids permission denied errors on Linux runners, ensuring a smooth transition to test execution.
Optimizing Build Performance with Caching Strategies
Build speed dictates developer adoption. If an Android build takes twenty minutes to complete a simple pull request validation, engineers will bypass checks or Managing Context Window Limitations In Ai switch away while waiting. The primary bottleneck in Android CI is dependency resolution and compilation overhead, which you can mitigate through effective caching.
Gradle builds involve multiple caching layers, including dependency downloads, build outputs, and Kotlin compilation caches. The official Gradle actions setup action manages these layers automatically by tracking your dependency lock files and build scripts. When you modify a dependency version in your build files, the cache key invalidates safely. When you only change application logic, the cache restores previous build outputs, drastically reducing total execution time.
To maximize caching efficiency, avoid mutating global state inside your build steps. Keep your Gradle properties clean and let the wrapper handle tool versions consistently. If your project uses multiple modules, ensure that clean tasks do not inadvertently wipe out directories required by downstream compilation steps. A well-cached build should complete unit test validation in a fraction of the time required by a cold runner start.
Managing Test Boundaries and Diagnostic Signals
Testing strategy in a continuous integration pipeline requires a clear boundary between unit tests and instrumentation tests. Unit tests run on the host JVM using local mock frameworks, executing quickly and reliably without external hardware dependencies. Instrumentation tests, by contrast, require an Android emulator or a physical device, introducing significant resource overhead, startup delays, and potential flakiness.
For a standard pull request workflow, you should focus exclusively on unit tests such as testDebugUnitTest. Instrumentation tests are better suited for nightly builds, dedicated device farm runs, or post-merge pipelines where longer execution times are acceptable. When a test fails, your CI workflow must output observable failure signals. Gradle automatically generates test result reports in XML format under build/test-results. You can capture these reports using artifact upload actions to inspect stack traces without digging through raw console logs.
When diagnosing a red build, look for specific error signatures rather than generalized failure messages. Common culprits include mismatched Java runtime versions between local machines and CI runners, missing Android SDK build tools, or out-of-memory errors caused by default runner heap allocations. You can adjust the Gradle JVM heap size in your gradle.properties file using settings like org.gradle.jvmargs=-Xmx3g to prevent memory exhaustion on standard runner hardware.
Practical Takeaway
Automating your Android build and test process requires a balance between runner speed and verification thoroughness. Start your CI journey by implementing a clean checkout, a standard Java runtime, and official Gradle caching combined with fast unit test execution. Keep instrumentation tests separate from pull request checks to maintain short feedback loops, and always manage your signing credentials outside version control. By treating your CI pipeline as an ephemeral, reproducible environment, you ensure consistent build behavior across every contribution to your project.
Continue Exploring
You Might Also Like
WorkManager vs AlarmManager: How to Choose for Android Background Work
A practical decision guide for choosing WorkManager or AlarmManager based on timing precision, persistence, constraints, retries, and user-visible intent.

Setting Up a Modern Android Development Environment
Learn how to establish a robust and reproducible Android development environment, covering IDE installation, SDK management, and device testing trade-offs.

Debugging R8 Release-Only Crashes Without Disabling Optimization
A systematic way to diagnose Android crashes that appear only after R8 optimization, from retracing stack traces to writing the narrowest keep rule that fixes the real boundary.