Building an Isolated Linux Lab in VirtualBox
Learn how to build a safe, isolated Linux and Kali Linux laboratory in VirtualBox, focusing on network modes, safe snapshot workflows, and security boundaries.
Table of Contents5 sections
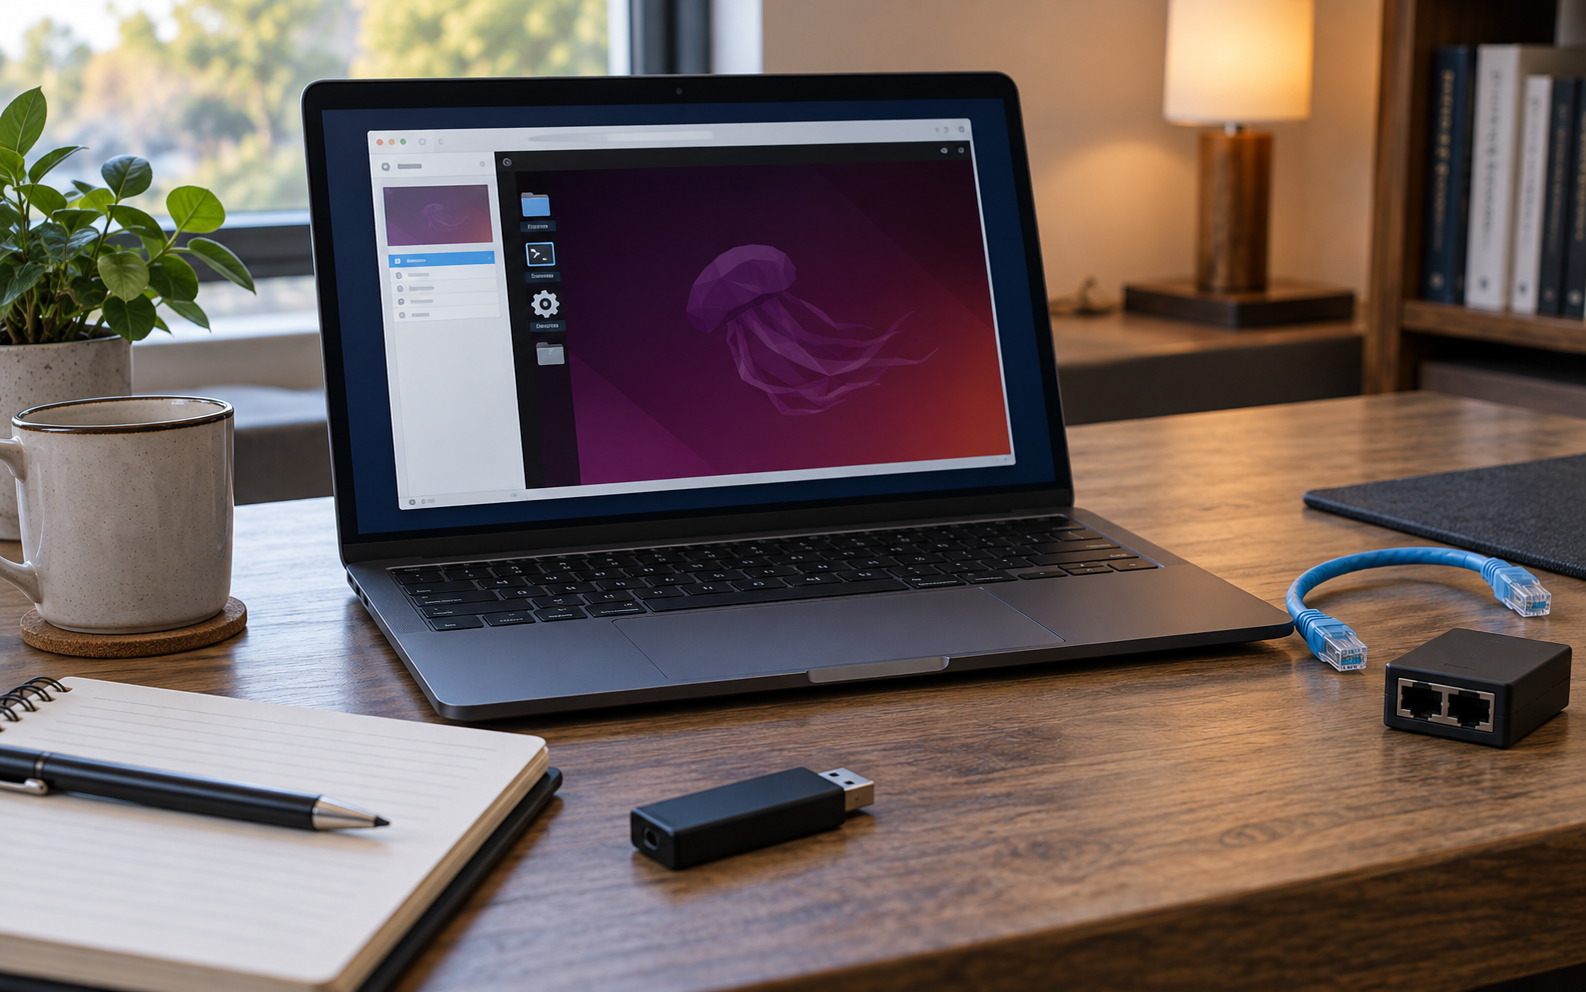
A bounded Linux lab makes isolation, networking, and rollback decisions visible.
Building an isolated Linux lab on your personal computer allows you to test system configurations, run development scripts, or study security tools without risking your host operating system. Many beginner tutorials focus entirely on clicking through installer wizards, but they often omit the foundational steps of setting proper hardware boundaries, Configuring Automated Repository Access network isolation, and creating recovery checkpoints. When you configure a virtual machine for experimentation, your primary goal is containment. You need a predictable environment that can access what you permit while shielding your primary network and host system from unintended side effects.
To achieve this level of containment, you must establish clear resource limits and understand how your virtual machine communicates with the outside world. This guide walks through the architectural choices behind a secure VirtualBox Linux laboratory, comparing network topologies, detailing snapshot management, and establishing clear operational boundaries for testing distributions like Kali Linux.
Choosing the Right Network Topology
VirtualBox offers several network modes for virtual machines, and selecting the correct mode is the most important decision for maintaining lab safety. The default option is usually Network Address Translation, known as NAT. In NAT mode, your virtual machine shares the host operating system internet connection. The host acts as a router, translating network packets so the virtual machine can download packages and browse the web. Outbound connections work seamlessly, but external devices on your Mysql Local Development Setup network cannot initiate inbound connections to the virtual machine. This mode provides a convenient boundary for general software installation and updates.
Host-only networking creates a completely private network linking the host computer and one or more virtual machines. In this configuration, the virtual machine cannot access the wider internet through the host interface, but it can communicate directly with the host and other virtual machines configured on the same host-only network. This setup is ideal for testing internal services, database configurations, or multi-node architectures where internet access is unnecessary or poses a security risk. Bridged networking, by contrast, connects the virtual machine directly to your physical local area network, giving it a unique IP address on your router. While useful for testing how a server behaves on a real network, bridged mode removes the isolation layer that keeps your laboratory experiments contained to your local machine.
Configuring Resource Limits and Hardware Boundaries
Before launching an installer ISO, you need to define explicit CPU, memory, storage, and device boundaries for your virtual machine. Allocating too many resources can starve your host operating system, while allocating too few can lead to unresponsive environments or failed package installations. A balanced configuration for a standard Linux testing lab typically involves allocating two CPU cores, four gigabytes of memory, and a dynamically expanding virtual hard disk of thirty gigabytes.
Beyond hardware sizing, you must disable unnecessary virtual hardware features that could compromise isolation. If you do not require shared clipboards, drag and drop file transfer, or bidirectional USB controller passthrough between the host and guest, disable these settings in the virtual machine configuration panel. These integration features, while convenient for desktop virtualization, create potential bridges across your security boundary. Keeping your virtual machine storage on a dedicated virtual disk file ensures that when you decide to wipe the environment, you can delete a single file without leaving orphaned configuration artifacts across your host system.
Managing Snapshots for Rapid Recovery
Experimentation inevitably leads to broken configurations, corrupted package managers, or unstable kernel modules. VirtualBox provides a snapshot feature that records the exact state of a virtual machine storage drive, memory, and device settings at a specific moment in time. Taking a clean snapshot immediately after a successful operating system installation and initial configuration gives you a reliable baseline to return to when an experiment fails.
It is important to understand that virtual machine snapshots are recovery checkpoints rather than backups of valuable data. If you store important notes or source code exclusively inside a virtual machine and then revert to an older snapshot, those files will be permanently lost unless they were exported or synchronized to an external repository. The following command line example demonstrates how to list and manage snapshots using the VirtualBox command line interface, VBoxManage, which is useful for automation or headless lab environments.
VBoxManage snapshot "Linux-Lab-VM" list

# Take a new snapshot representing a clean baseline
VBoxManage snapshot "Linux-Lab-VM" take "Clean-Install-Baseline" --description "Fresh Debian install with base packages"

# Restore the virtual machine to the clean baseline snapshot
VBoxManage snapshot "Linux-Lab-VM" restore "Clean-Install-Baseline"
Using the command line interface allows you to script repetitive setup and teardown workflows, ensuring that your lab state remains consistent every time you start a new testing session.
Establishing Safe Boundaries for Security Distributions
When building a lab that includes security-testing distributions such as Kali Linux, establishing ethical and technical boundaries is essential. Kali Linux packages hundreds of penetration-testing tools, network scanners, and forensic utilities. Running these tools without proper isolation or authorization can disrupt local networks and violate acceptable use policies on shared connections.
Security distributions should always be confined to host-only networks or isolated internal virtual switches unless you are actively auditing a network you own or have explicit written authorization to test. Tools designed for vulnerability assessment or packet analysis will naturally broadcast traffic that domestic routers or enterprise firewalls may flag as malicious activity. By enforcing strict network boundaries, you prevent your testing tools from inadvertently scanning unauthorized external hosts or leaking diagnostic data onto public networks. Treating security tools as analytical instruments within a closed loop ensures that your learning environment remains strictly educational and fully controlled.
Practical Takeaway
A successful Linux lab relies on deliberate planning rather than default settings. By intentionally selecting NAT for update tasks, host-only networking for isolated experimentation, and establishing clean baseline snapshots, you create a resilient environment that protects your host system. Always define your resource and network boundaries before launching any installer, and ensure that your testing activities remain confined to systems you own and control.
Continue Exploring
You Might Also Like

Configuring HTTP Caching for Modern Web Applications
Learn how to choose safe HTTP caching headers for static websites and CDNs by mastering Cache-Control directives, content-hashed filenames, and validation.

Shipping Mobile Features Without Releasing a New APK
Explore architectural patterns, policy boundaries, and trade-offs when delivering mobile features without reinstalling large application binaries.
Executing a Smooth Technical Rollout
Learn how to orchestrate a smooth software release by defining clear ownership, explicit operational calendars, and resilient verification steps for backend and frontend updates.